Table of Contents
A flawless, level, and durable floor finish begins with a properly installed and, most critically, a correctly dried screed. For contractors, project managers, and homeowners alike, understanding the screed drying process is paramount to the success of any flooring project. Rushing this crucial phase can lead to catastrophic failures in subsequent floor coverings, resulting in costly repairs and significant delays. This comprehensive guide will delve into the intricacies of screed, the factors that influence its drying time, and the best practices to ensure a perfect substrate for your final floor.
Understanding Screed and Its Importance in Flooring
What is Screed?
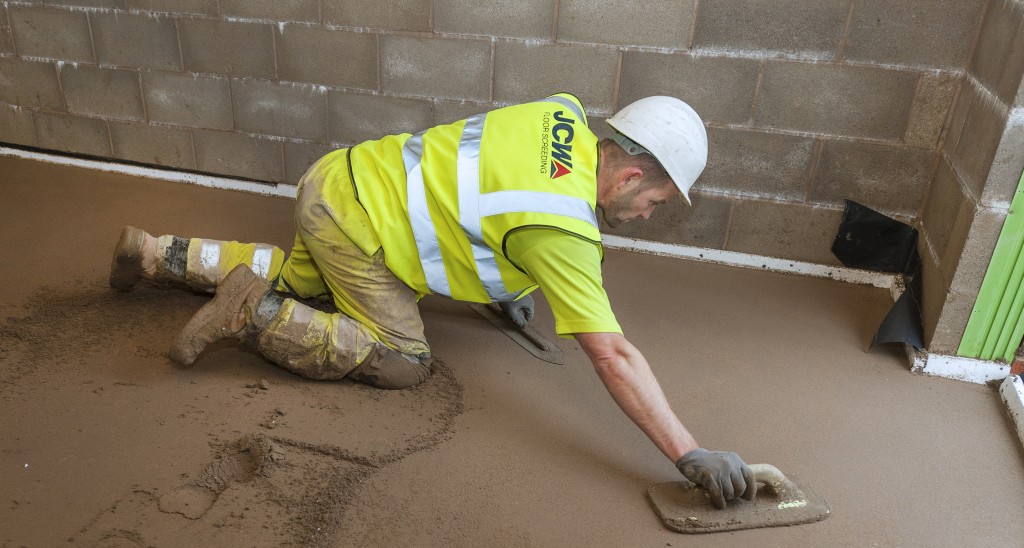
Screed is a thin layer of material, typically a mixture of cement, sharp sand, and water, that is applied to a concrete base to create a smooth, level, and strong surface for the final floor finish. It acts as a crucial structural and aesthetic layer, designed to withstand the loads of daily use while providing an ideal, flat canvas for floor coverings such as tiles, wood, laminate, vinyl, or resin.
Types of Screed
Not all screeds are created equal, and the type chosen has a profound impact on the project timeline. The main categories include:
- Traditional Sand/Cement Screed: The most common type, mixed on-site or delivered ready-mixed. It is cost-effective but has the longest drying times.
- Fast-Drying/Quick-Drying Screed: These are proprietary screeds that incorporate additives or special blends to accelerate the chemical curing and water evaporation processes significantly.
- Liquid Flowing / Anhydrite Screed: A self-leveling screed based on a calcium sulfate (gypsum) binder. It is pumped onto the subfloor, is incredibly fast to install, and offers excellent levelness. Its drying profile differs from traditional cementitious screeds.
- Reinforced Screed: Includes fibers or mesh for added tensile strength and to minimize cracking.
Factors Influencing Drying Time
The question of how long does screed take to dry is not answered with a single number. Instead, it is a variable determined by a complex interplay of several critical factors.
Ambient Temperature and Humidity
Environmental conditions are the single greatest external factor affecting drying time. Screed cures best in a stable, controlled environment.
- Temperature: Ideal conditions are between 15°C and 25°C. Colder temperatures drastically slow down the chemical hydration process, while excessive heat can cause the water to evaporate too quickly from the surface, trapping moisture underneath and leading to a weak, crumbly surface and potential curling.
- Humidity: High relative humidity (RH) in the air slows evaporation, as the moisture-laden air cannot absorb more water from the screed. Good ventilation is key, but direct drafts must be avoided.
Type of Screed Used
As mentioned, the screed formulation is a primary dictator of drying time. Anhydrite screeds can often accept foot traffic within 24-48 hours, while traditional screeds require much longer. Always consult the manufacturer’s technical data sheets for precise guidance based on the specific product used.
Thickness of the Screed Layer
This is a simple principle: a thicker screed layer contains more water and will, therefore, take longer to dry. The relationship between thickness and drying time is not linear; doubling the thickness more than doubles the drying time. Most drying time guidelines are based on a standard thickness (e.g., 40-50mm).
How Long Does Screed Take to Dry?
General Drying Time for Screed
As a rule of thumb, project managers often work with the following industry-standard estimates under ideal conditions (20°C, 50% RH):
- Traditional Sand/Cement Screed: Requires approximately 1 day per mm for the first 40mm, and 1.5 days per mm for any thickness beyond that. For a 50mm screed, this equates to roughly 40 + 15 = 55 days. A 70mm screed could take up to 40 + 45 = 85 days.
- Anhydrite Screed: Dries faster, typically requiring about 1 day per mm up to 40mm, and then 2 days per mm thereafter. A 50mm layer would take approximately 60 days.
- Fast-Drying Screed: These are designed to dramatically shorten the timeline. Some can be ready for flooring in as little as 7 to 14 days at 40mm thickness, depending on the product.
Crucial Note: These timeframes are for drying, not just curing. The screed may be hard to walk on (cured) after a few days, but it will still contain too much moisture to install moisture-sensitive floor coverings.
Quick-Drying vs. Traditional Screed
The choice between a quick-drying and traditional screed often comes down to project programming and budget. While quick-drying screeds have a higher material cost, they can offer substantial savings by reducing the overall project timeline, allowing follow-on trades to begin work much sooner. This makes them highly attractive for commercial projects with tight deadlines.
Best Practices for Ensuring Proper Drying
Environmental Control
Achieving the ideal drying environment is non-negotiable. This process is known as “acclimatization.”
- Heating and Ventilation: After an initial curing period (usually 2-3 days), gentle background heating and passive ventilation should be introduced to encourage even drying.
- Avoid Direct Heat and Drafts: Never use forced air, space heaters, or dehumidifiers too close to the surface, as this will cause rapid surface drying and sealing, trapping moisture within the slab.
Regular Monitoring of Moisture Levels
Never guess the answer to how long does screed take to dry. The only way to know if a screed is ready is by scientifically measuring its moisture content.
- Hygrometer Testing (CM Method): The most accurate method for anhydrite screeds. It involves sealing a hygrometer to the screed surface to measure the relative humidity (RH) within the slab. The screed is typically ready when the RH is below 75% (or as specified by the flooring manufacturer).
- Carbide Bomb Test: A destructive test that involves taking a core sample and measuring its moisture content by weight. It is highly accurate and often used for cementitious screeds.
- Electronic Moisture Meters: Provide a quick, non-destructive reading but are best used for comparative measurements to track the drying progress over time rather than for a final pass/fail assessment.
Conclusion
Summary of Key Points
The drying time of screed is a critical phase that demands respect and careful management. It is influenced by the type of screed, environmental conditions (temperature and humidity), and the installed thickness. Traditional screeds can take over two months to dry, while modern solutions can reduce this to a matter of weeks. The central question of how long does screed take to dry is ultimately answered not by a calendar, but by professional moisture testing.
Final Thoughts on Screed Drying Time
Patience and proper procedure are the cornerstones of a successful screed installation. Rushing to install flooring over a damp screed is a recipe for disaster, leading to adhesive failure, warping, mold growth, and delamination. By understanding the factors at play, controlling the environment, and rigorously testing for moisture, you ensure that the screed performs its fundamental role: providing a stable, permanent, and reliable foundation for a beautiful and long-lasting floor. Always adhere to the guidelines provided by both your screed and flooring manufacturers for the best results.