Table of Contents
Painting behind a radiator may seem like a minor detail, but overlooking it can lead to a noticeably unfinished result. Whether you’re updating a single room or undertaking a full interior refresh, learning how to paint behind a radiator is essential for achieving a clean, uniform finish. This step-by-step guide outlines the tools, techniques, and precautions required to complete the task efficiently and professionally.
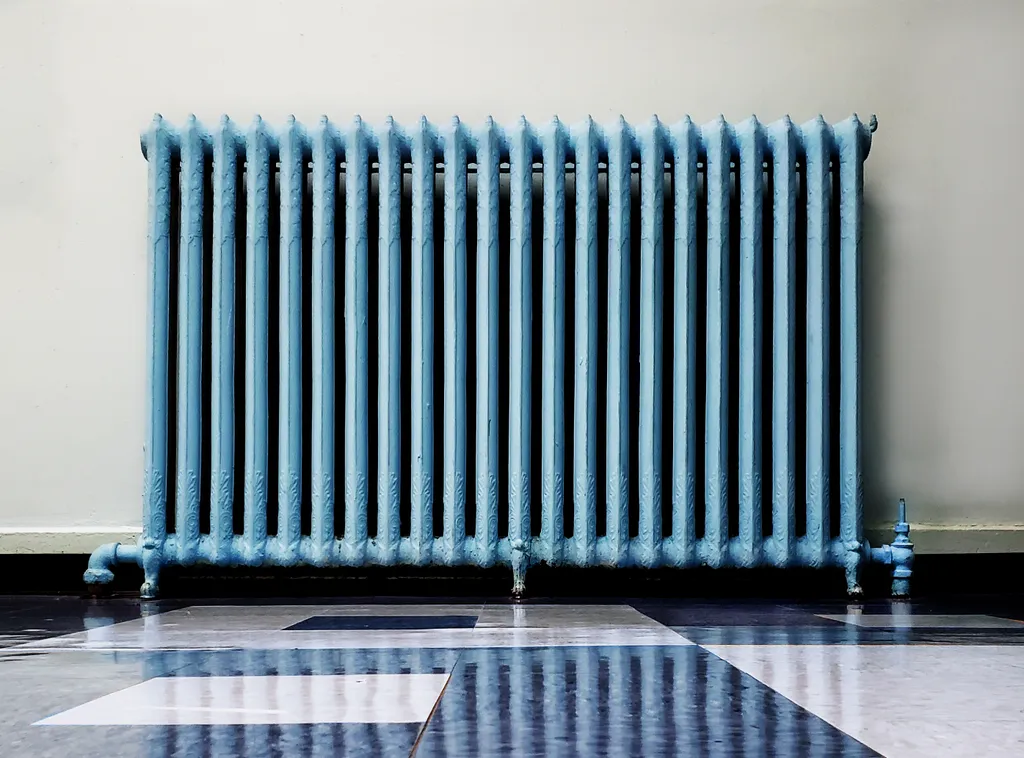
The Hidden Challenge: How to Paint Behind a Radiator
While radiators are typically fixed installations, the wall space behind them still accumulates dust, wear, and discoloration over time. Ignoring this area during painting can result in an inconsistent look, especially when changing paint colors. Access is limited, the space is narrow, and the heat-sensitive environment poses additional challenges—making proper planning and technique essential.
Tools and Materials: What You’ll Need for the Job
Before you begin, ensure you have the correct tools and materials on hand:
- Long-handled radiator roller or mini paint roller
- Angled sash brush (1″–2″)
- Paint tray or liner
- Masking tape
- Dust sheets or drop cloths
- Mild detergent and sponge (for cleaning)
- Screwdriver or wrench (optional, for radiator removal)
- Protective gloves and safety gear
- Mirror or inspection light (optional for visibility)
- Interior wall paint (appropriate for the room environment)
These items are critical for safely reaching and painting the space behind your radiator without compromising the quality of your finish.
Surface Preparation: Setting the Stage for a Flawless Result
1. Shut Off and Cool Down the Radiator
Start by turning off your heating system and allowing the radiator to cool completely. Never paint near an active or warm radiator.
2. Clean the Wall and Radiator Area
Remove dust, cobwebs, or grease using a damp cloth and mild detergent. Clean surfaces are vital to ensure proper paint adhesion.
3. Protect Adjacent Surfaces
Lay drop cloths beneath the radiator and use masking tape to cover any trim, skirting boards, or fittings. This will help prevent drips or accidental stains.
4. Decide Whether to Remove the Radiator
Removing the radiator can provide unrestricted access but is optional. If you’re confident with plumbing, use a wrench to detach the unit after draining. Otherwise, proceed using long-reach tools designed for the task.
Execution: Step-by-Step Process for Painting Behind a Radiator
Safety First: Precautions Before You Begin
- Ensure the radiator is off and fully cooled.
- Ventilate the space by opening windows or using an exhaust fan.
- Wear gloves and, if using oil-based paints, consider a respirator for safety.
- Avoid flammable materials near heating units—even when off.
Application Methods: Techniques for Optimal Results
Option 1: Painting with the Radiator in Place
This method is ideal for most DIYers and requires a long-handled radiator roller and/or angled brush.
- Dip your roller lightly into the tray and remove excess paint.
- Insert the roller behind the radiator, using vertical strokes to apply an even coat.
- Switch to an angled brush for edges or corners where the roller can’t reach.
- Use a mirror or inspection light to check for missed spots.
- Allow to dry and apply a second coat if needed, following the same technique.
Option 2: Painting After Removing the Radiator
This method provides full wall access and results in a more uniform finish.
- Drain the radiator and remove it according to manufacturer guidelines.
- Place the radiator on a towel or cloth to protect both it and the flooring.
- Paint the area using a standard roller or brush.
- Allow the paint to cure completely before reinstalling the radiator.
Final Touches: Clean-Up and Reassembly
- Remove masking tape carefully to avoid stripping any fresh paint.
- Clean your tools immediately after use with warm water or solvent, depending on your paint type.
- If you removed the radiator, reconnect it securely and check for leaks before turning the heating back on.
- Perform a final inspection to ensure uniform coverage and address any missed areas.
Troubleshooting: Common Challenges and How to Overcome Them
| Issue | Recommended Solution |
| Paint dripping onto radiator | Use minimal paint; wipe splashes immediately with a damp cloth. |
| Missed or uneven spots | Use a mirror or light to inspect and reapply as needed. |
| Roller won’t reach tight areas | Switch to a flexible brush or extendable radiator roller. |
| Poor paint adhesion | Ensure wall is clean and dry before applying paint. |
Expert Tips for a Seamless Finish
- Work in natural daylight if possible to clearly see behind the radiator.
- Use paint with a matte or eggshell finish to minimize imperfections.
- Avoid overloading your brush or roller to prevent drips and uneven texture.
- Invest in high-quality tools—they make a noticeable difference in hard-to-reach areas.
- If painting a wall a significantly different color, prime the area behind the radiator first for consistent tone.
Conclusion: A Professional Finish, Even in Tricky Spots
Painting behind a radiator may require extra time and patience, but the effort pays off with a polished, high-quality result. By following proper safety precautions, using the right tools, and taking a systematic approach, homeowners can achieve a consistent and professional-grade finish—no matter how tight the space.
With this guide in hand, you can confidently enhance your room’s appearance while maintaining the long-term integrity of your paintwork—even in the most hard-to-reach corners of your home.