Table of Contents
Introduction
LED strip lights have become one of the most popular lighting solutions for both residential and commercial applications. Their flexibility, efficiency, and wide range of colors make them ideal for under-cabinet lighting, ceiling coves, stairways, shelves, and accent walls.
However, for longer or customized installations, you’ll often need to connect multiple LED strips together. Understanding how to join LED strip lights safely and effectively is critical to achieving a seamless lighting experience and ensuring long-term performance.
This comprehensive guide covers all major joining techniques, safety protocols, tools, troubleshooting methods, and professional tips to help you complete your LED lighting project with confidence.
Why Joining LED Strip Lights Matters
Joining LED strip lights extends your design options and allows you to:
- Cover larger areas without visible breaks
- Route lighting around corners, furniture, or architecture
- Customize the layout to match your environment
- Improve brightness consistency by extending to multiple zones
Incorrect joining can lead to performance issues, such as flickering, power loss, or even strip damage. That’s why a methodical and informed approach is essential.
Tools and Materials Required
Before beginning, ensure you have the appropriate tools and materials for your chosen joining method:
Core Materials:
- LED strip lights (must be the same voltage and type)
- Power supply unit (PSU) with adequate wattage and correct voltage
- LED connectors (solderless clips, corner connectors, or wired connectors)
- Connector cables (if bridging corners or gaps)
- Electrical tape or heat shrink tubing
Tools:
- Scissors or a precision cutter
- Soldering iron and solder (for the soldering method)
- Wire stripper
- Multimeter (for testing voltage and continuity)
- Silicone sealant (for waterproof LED strips)
- Ruler or tape measure (for accurate cuts)
Safety Precautions
When working with electrical components like LED strips, safety must be your top priority:
- Always power off and disconnect your power supply before making any connections.
- Verify voltage compatibility. Never connect 12V strips to a 24V power supply.
- Avoid overloading. Calculate the total wattage of your LED strips and ensure the power supply can handle 20–30% more than the total draw.
- Protect exposed wires. Use insulation materials like heat shrink tubing or tape.
- Secure strips properly before applying adhesive or clips for permanent installation.
- Work in a clean, dry environment. Water or moisture can damage circuitry and pose shock hazards.
Understanding LED Strip Configuration
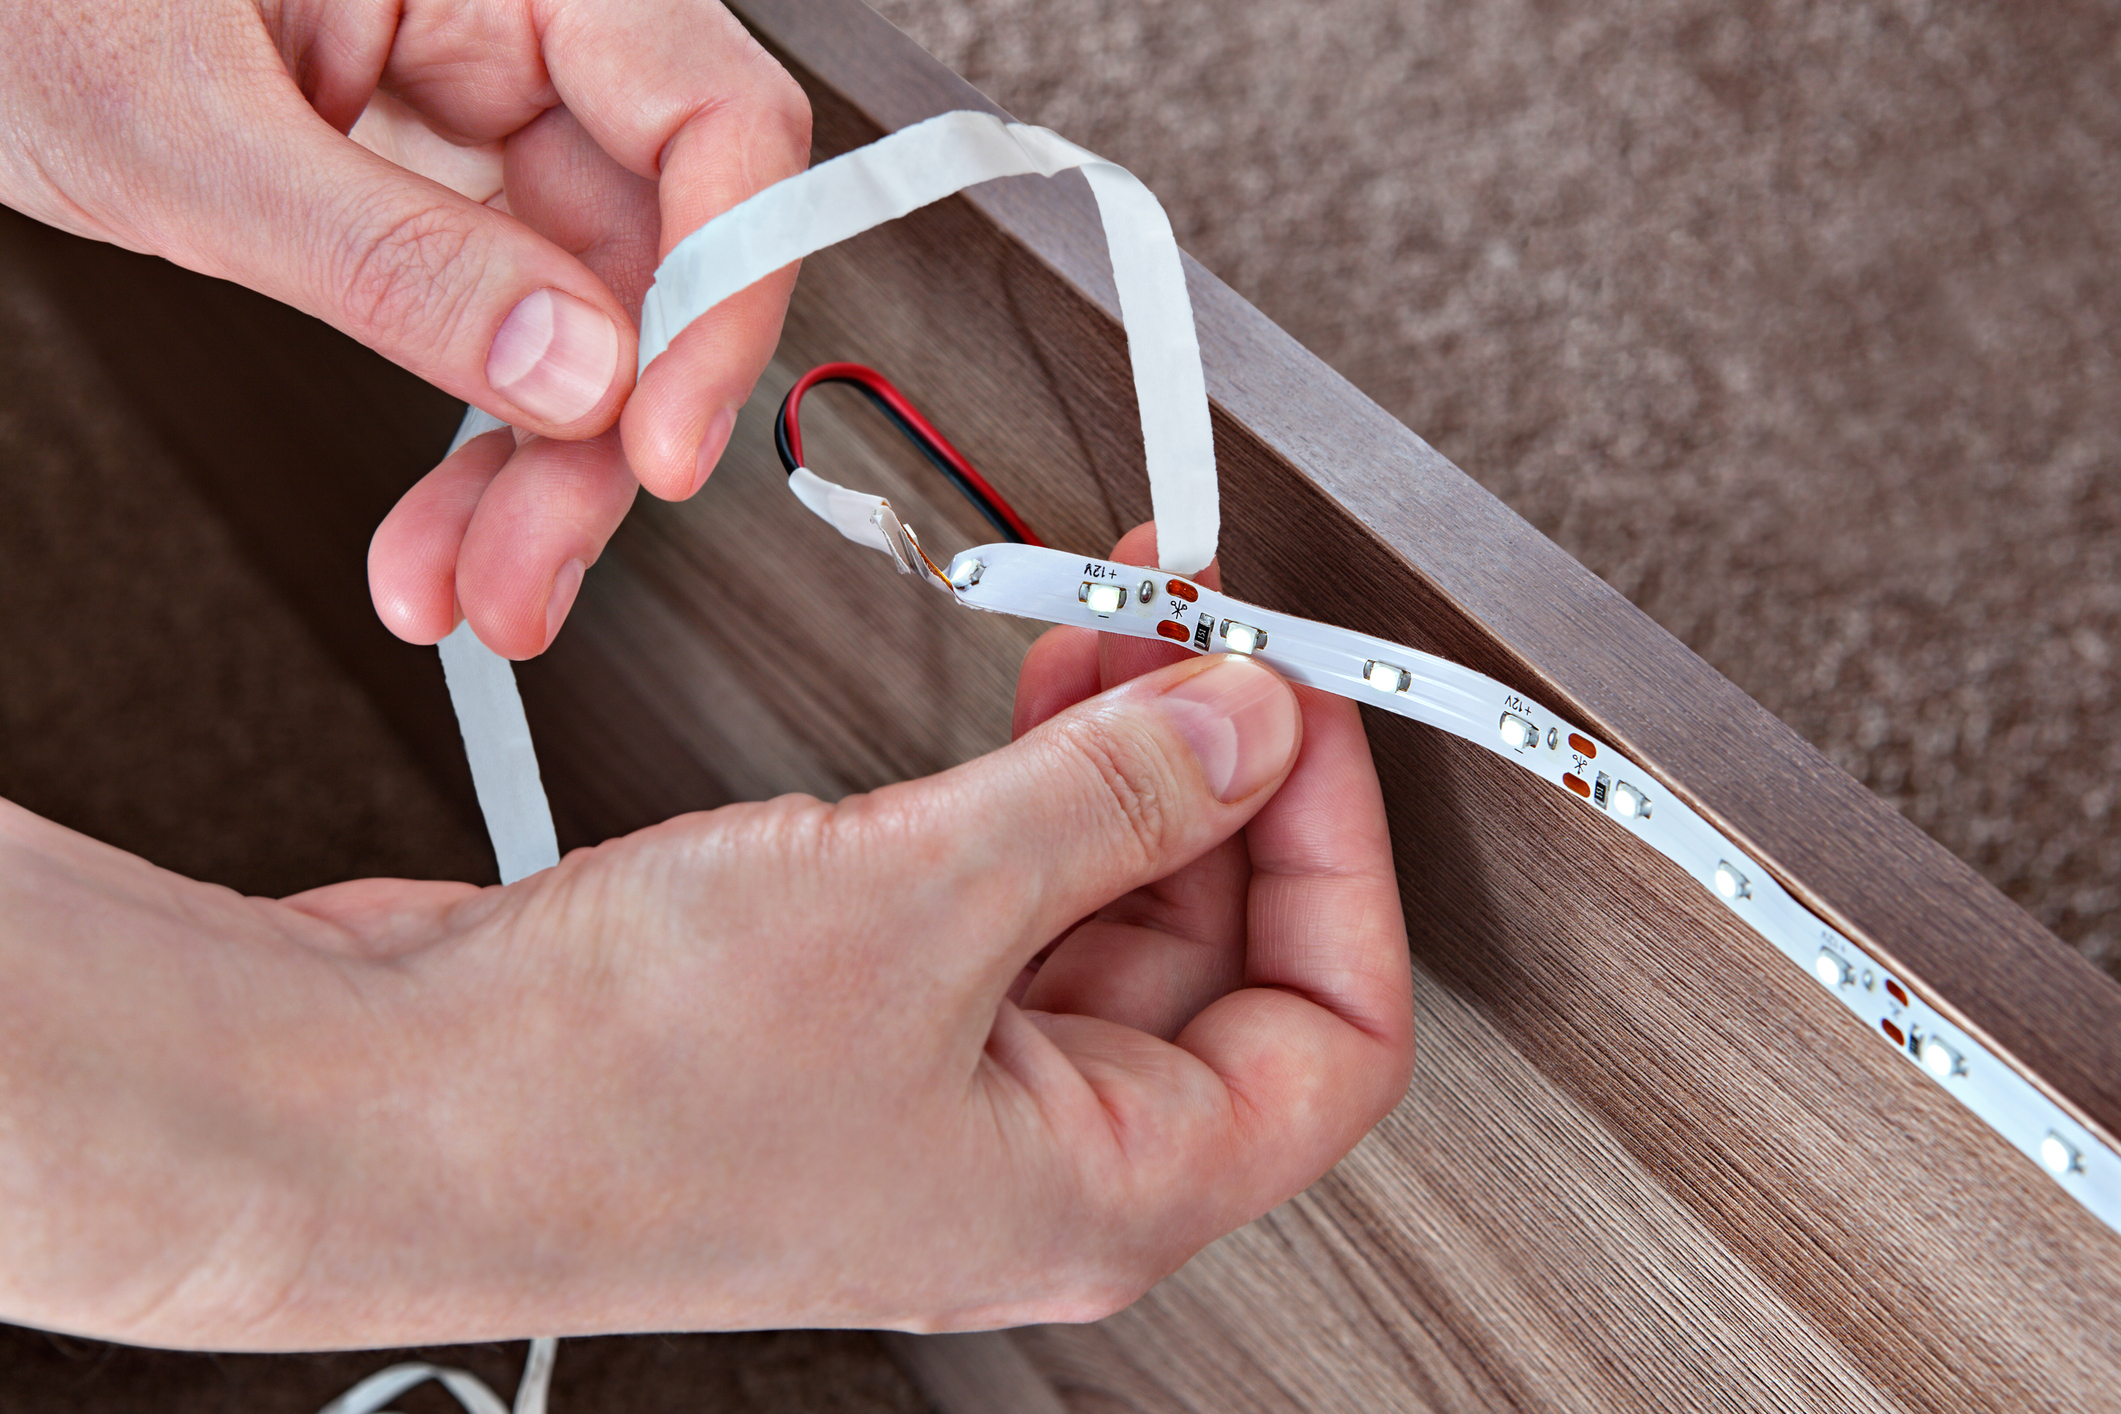
Before making any connections, familiarize yourself with the basic anatomy of an LED strip:
- Copper Pads: These are the small contact points usually found every 3 LEDs. Marked with +12V and – (or RGB terminals).
- Cut Lines: Indicated by a scissor icon; these are the safe zones for cutting the strip without damaging internal circuits.
- Polarity Indicators: Ensure that positive and negative terminals are aligned when joining strips.
Methods to Join LED Strip Lights
There are three primary methods for connecting LED strips, each suited to different needs and skill levels.
Method 1: Using Solderless LED Strip Connectors
This is the most beginner-friendly option, ideal for quick installations or where tools are limited.
When to Use:
- Straight line connections
- Non-permanent setups
- Areas with limited workspace
Steps:
- Power Off: Disconnect the strip from the power supply.
- Cut the Strip: Use sharp scissors to cut along the designated cutting line between the copper pads.
- Open the Connector: Carefully open the latch on the LED connector.
- Align and Insert: Slide the copper pads of each LED strip under the connector pins, ensuring + and – match on both sides.
- Secure the Connector: Close the latch firmly to lock the strips in place.
- Reconnect and Test: Power on the strip to check for proper illumination and polarity alignment.
Pros:
- No soldering required
- Quick and easy
- Reusable
Cons:
- Bulkier than soldered joints
- Not ideal for tight or corner spaces
Method 2: Soldering LED Strip Lights
Soldering offers a permanent and low-profile connection, ideal for custom or professional-grade installations.
When to Use:
- Permanent installations
- Low-profile designs
- Waterproof LED strips (with proper resealing)
Steps:
- Cut and Prepare the Strips: Use scissors to cut the LED strip at the marked line. Remove any waterproof coating from the copper pads using a sharp knife.
- Tin the Pads: Heat your soldering iron and apply a small amount of solder to the exposed copper pads. This prepares them for bonding.
- Attach Wires: Strip your connecting wires and tin their ends. Then solder each wire to the corresponding copper pad (ensure color coding or mark polarity).
- Insulate the Joints: Use heat shrink tubing or electrical tape to protect the connection. If using waterproof strips, reseal the silicone or use waterproof tubing.
- Test the Connection: Power the strip and confirm consistent lighting across the joint.
Pros:
- Durable and compact
- Professional-grade finish
- Reliable electrical continuity
Cons:
- Requires soldering tools and skills
- More time-consuming
Method 3: Using Connector Wires for Corners and Gaps
Connector wires bridge gaps or turns where direct connection is not possible, such as 90-degree angles or cabinet gaps.
When to Use:
- Around corners
- Across obstacles (e.g., vents, fixtures)
- Between separate surfaces (e.g., shelves)
Steps:
- Cut Both Strips: At the intended start and end points of the corner or gap.
- Attach Connector Wires: Use 2-pin or 4-pin wire connectors to connect the strips via insulated wire segments.
- Secure and Align: Ensure wires match polarity and are tightly fastened within each connector.
- Test the Setup: Check for brightness consistency and correct alignment before mounting.
Pros:
- Allows design flexibility
- Easy to route wires discreetly
- No soldering required (unless preferred)
Cons:
- Can become messy if not organized
- May require additional cable management
Troubleshooting: Common Joining Issues
| Issue | Cause | Solution |
| Strip does not light up | Reversed polarity, loose connection | Re-check orientation and tighten connectors |
| Partial strip lights only | Incomplete contact, damaged segment | Re-cut and reconnect using a fresh connector |
| Flickering lights | Inconsistent power supply, poor connection | Upgrade PSU, re-solder or replace connectors |
| Dim lighting at far end | Voltage drop over long runs | Use an LED amplifier or power injection points |
| Overheating or burned sections | Exceeding power limit, voltage mismatch | Confirm correct voltage and power supply rating |
Best Practices for a Clean, Safe Installation
- Plan ahead: Sketch your lighting layout and calculate total strip length and power requirements.
- Stick to one voltage: Never mix 12V and 24V strips or power supplies.
- Label connectors and wires: Especially in large installations to avoid confusion during testing.
- Use LED channels or aluminum profiles: They aid in heat dissipation and create a professional finish.
- Test before mounting: Avoid fixing strips permanently until all connections are verified.
- Consider amplifiers: For large or RGB setups, amplifiers help maintain signal integrity and brightness uniformity.
Conclusion
Joining LED strip lights may seem technical at first, but with the right tools, methods, and precautions, it becomes a manageable and rewarding part of any DIY or professional lighting project. Whether you use solderless connectors for quick assembly, soldering for durability, or wire bridges for flexibility, following correct procedures ensures optimal performance and longevity.
By understanding how to join LED strip lights the right way, you eliminate guesswork, prevent electrical faults, and achieve a clean, functional, and visually stunning result. From under-cabinet kitchens to ambient cove lighting and retail installations—well-joined LED strips are the backbone of a flawless lighting experience.